DS200GSIAG1 Technical Specifications
| Manufacturer | GE General Electric |
| Series | Mark V |
| Part Number | DS200GSIAG1 |
| Product Type | Common DC Bus Regenerative Board |


Contact: YMGK Industrial Control
Phone: +86 18059884790
E-mail: plc66@qq.com
Add: whatsapp+86 18059884790
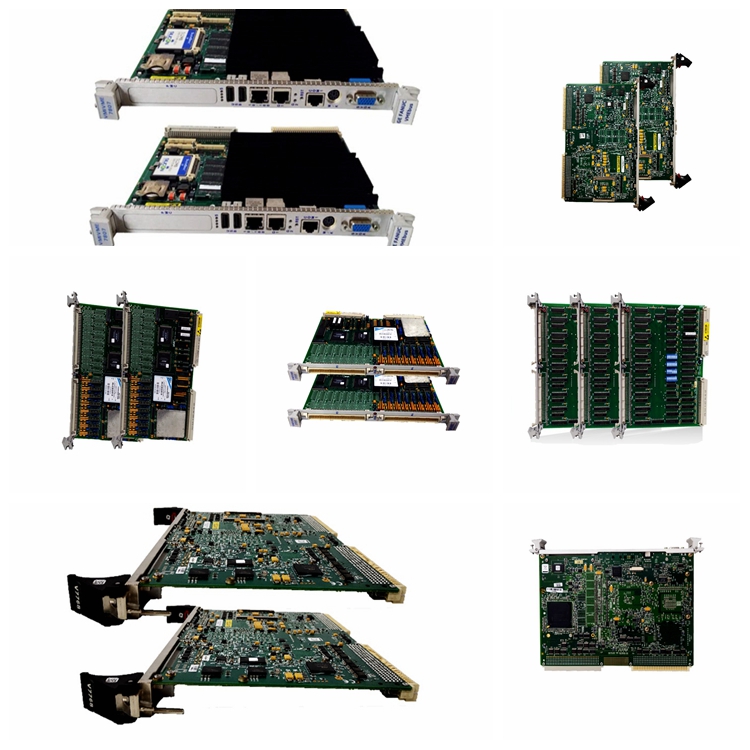
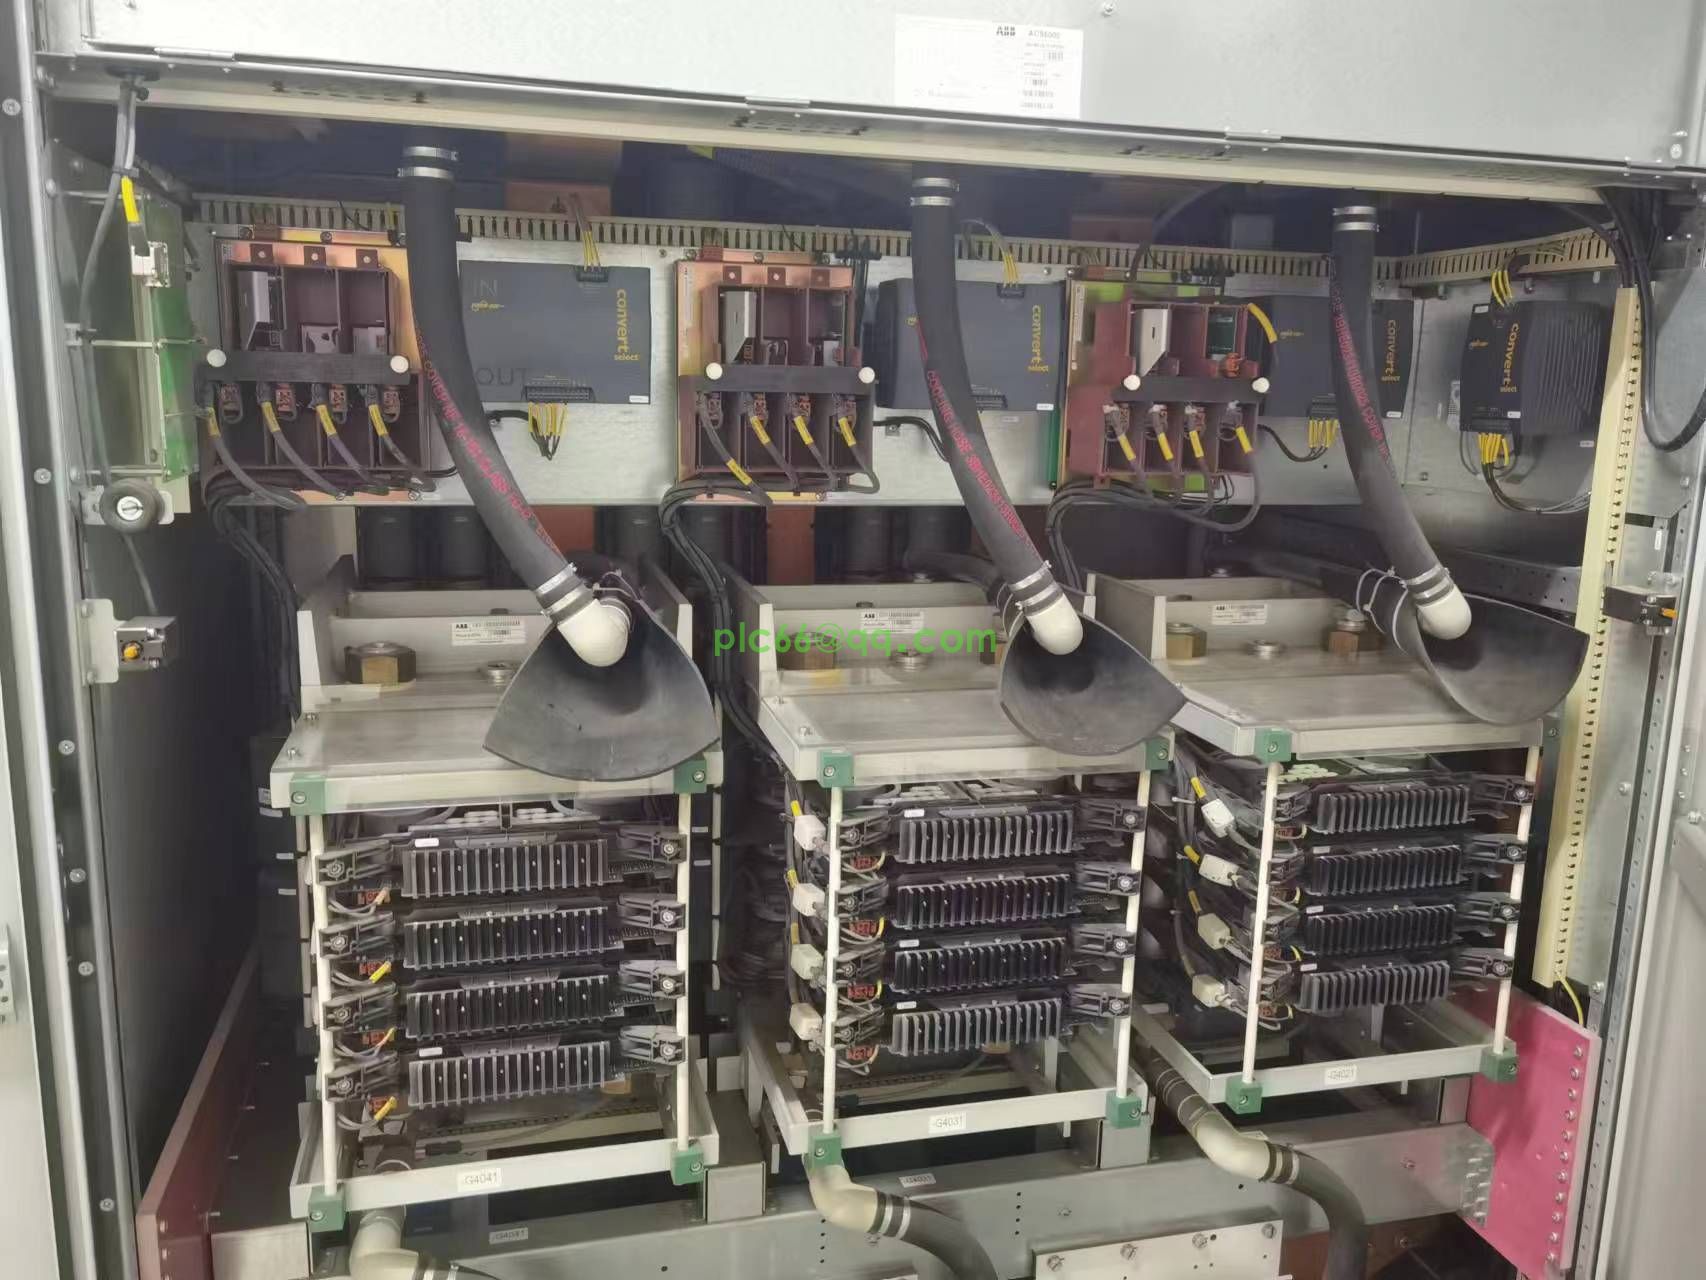
The GE Common DC Bus Regenerative Board DS200GSIAG1 contains three 40-pin connectors, two 16-pin connectors, and 6 jumpers. The board also has 1 8-pin connector, and multiple test points. When you unplug any cables to replace the board, use one hand to hold the connector and use the other hand to secure the board. Then, carefully remove the cable. Some cables are easily broken and this helps reduce damage. Ribbon cables are easily damaged and so must be routed to reduce stress on the connectors.
When you receive the replacement GE Common DC Bus Regenerative Board DS200GSIAG1, one task you must perform is to move the jumpers on the board to mimic how they are configured on the old board. The jumpers as they arrive from the manufacturer are set at predefined settings. Some configuration of the board can be performed by changing the settings to meet the requirements of the site. Other jumpers cannot be changed and must remain at the factory settings.
When you replace the board you identify each jumper and make sure the jumper is positioned the same on the replacement board. In this way, the board will be configured exactly like the old board when it is installed.
Similar to this is plugging the cables into the replacement board. Inspect the old board and identify where the cables are plugged in. Tag the cables with the information. After you screw the board into the rack, you can read the tags to know where to plug in the cables.

Tel:+86 18059884790
E-mail:plc66@qq.com
E-mail2:+86 18059884790
Address:whatsapp+86 18059884790

Copyright © Xiamen Xiongba E-Commerce Co., Ltd.